
If you have purchased and enabled the Ticket feature, you can make the ticketing feature visible to agents in the Agent Desktop through LiveVox’s Designer tool.
Enabling the Ticketing Widget in Agent Desktop
To enable the Ticketing widget on an agent's desktop:
- Open Designer.
- Click on the Desktops tab.
- Double-click the desired desktop that you want to assign to the agent or agent team. The Design window for the selected desktop opens.
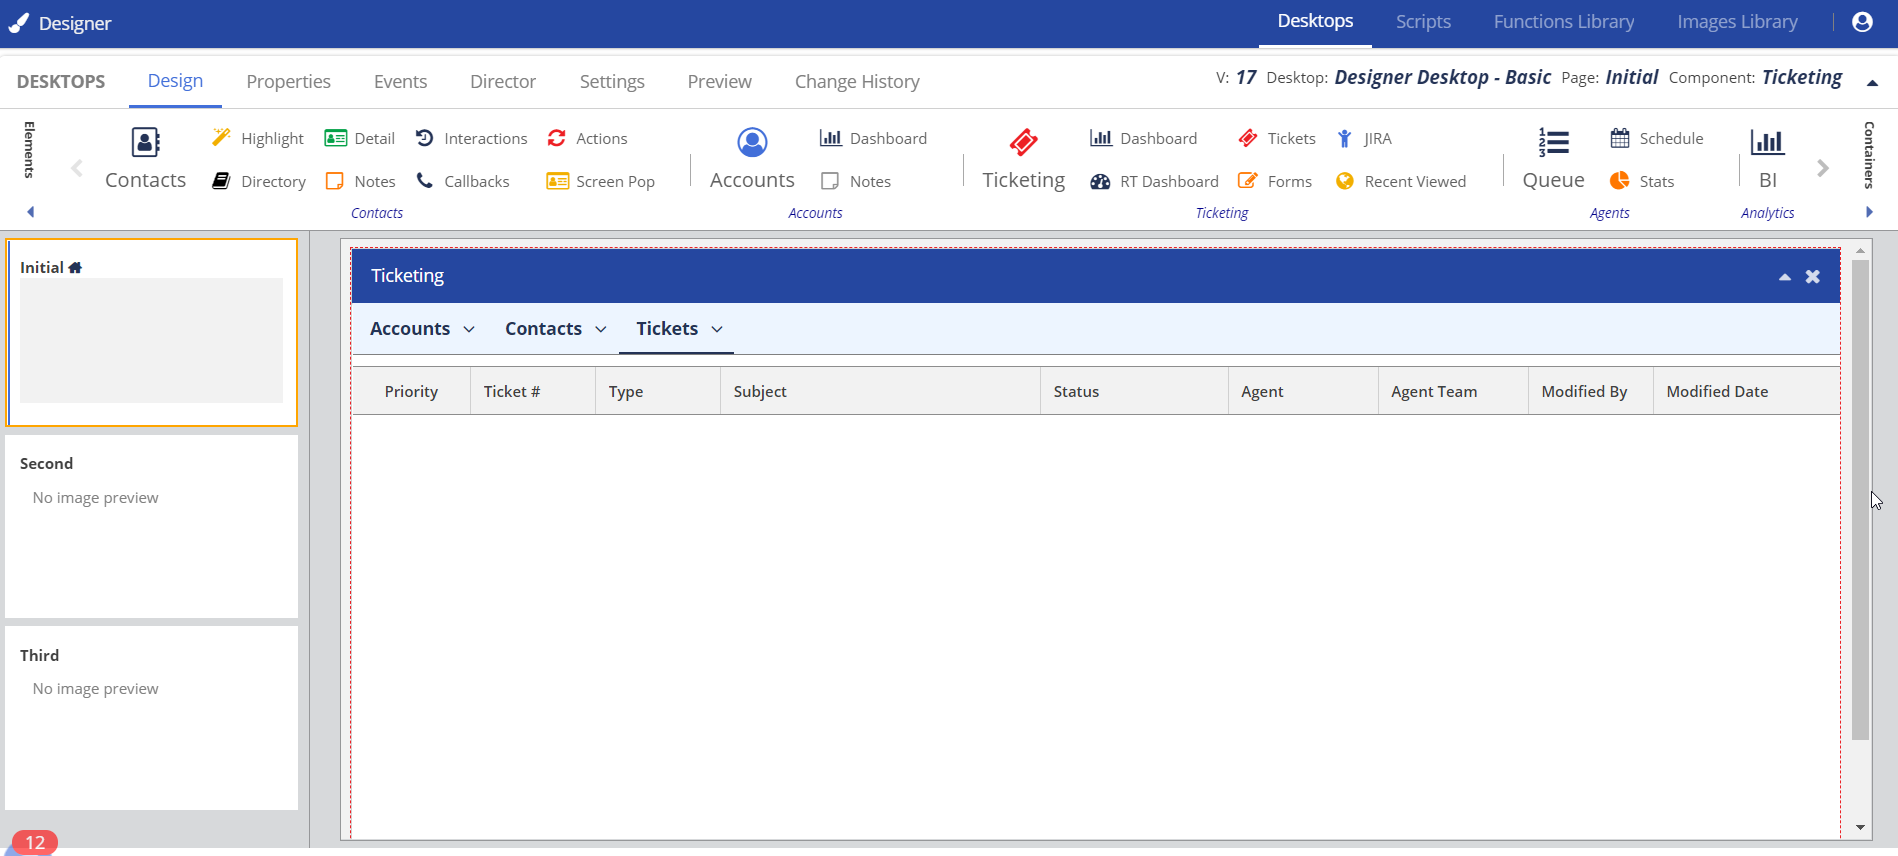
- Click Ticketing.
The Ticketing widget appears in the preview.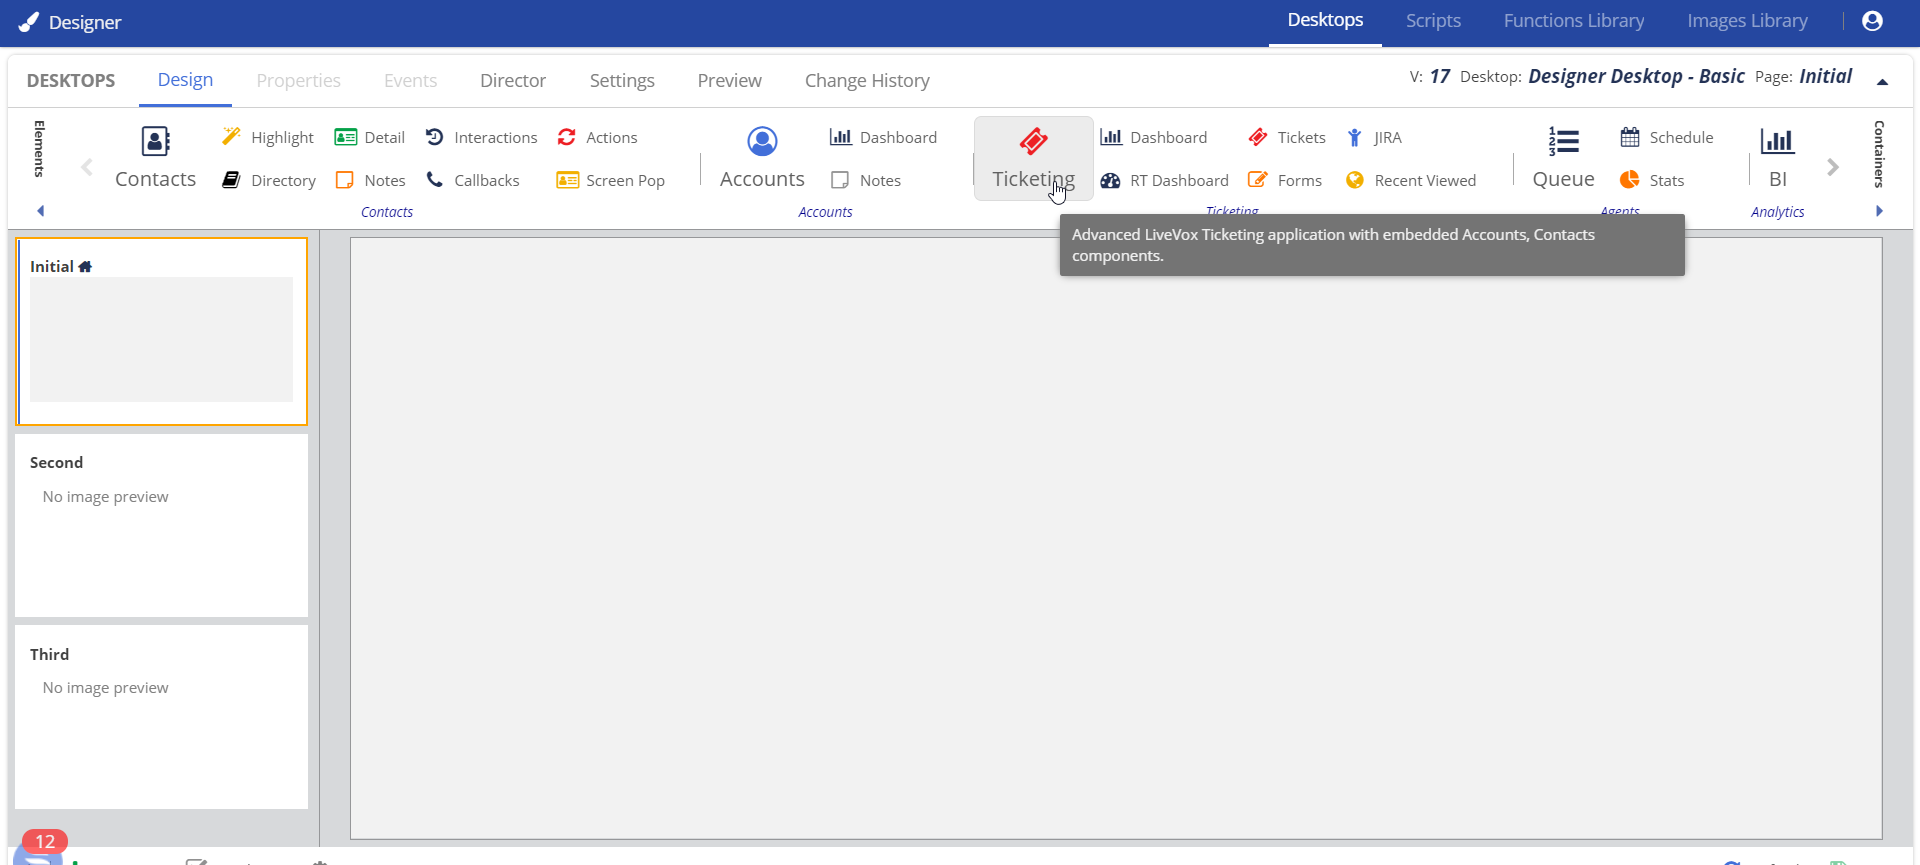
Assigning Tickets Created Through LVP
Assigning an Existing Ticket to an Agent
To assign an existing ticket to an agent:
- On the Configure tab of the LiveVox Portal, click Ticketing > Tickets.
- The tickets list opens.
- Double-click and open the ticket that you want to assign.
- Select the name of the agent from the Agent drop-down list.
- Click the green tick mark to save the agent name.
- Alternatively, you can select the agent from the Agents drop-down list in the General section and click Save.
Assigning a New Ticket to an Agent
When creating a new ticket, you can select the name of the agent from the Agents drop-down list in the General section of the New Ticket window.