Routing an inbound call involves placing an incoming call in a queue and then routing that call to a specific person or a group based on pre-established rules (using the Contact Flow Editor and Message Template). LiveVox supports multiple options to route inbound calls. For example, you can route an inbound call to a Service Group for call distribution or specifically to the agent assigned to an account or to the agent who last spoke to the customer.
You use the LiveVox Contact Flow editor to define the flow for any communication type (call, chat, email, SMS, or WhatsApp). This article focuses on creating a contact flow to route inbound voice calls.
Creating a New Contact Flow
The Contact Flow editor is a tool in the LiveVox portal that enables you to define the flow of any communication (call, chat, email, SMS, or WhatsApp) between your organization and customers. A contact flow primarily consists of modules (such as lookups, menus, or actions) and connectors (for linking modules, setting the flow, or assigning system result codes).
The following example of a contact flow checks whether the call center is open or closed, plays a voicemail if closed and if open, provides menu options and operator transfer.
To create a new contact flow:
- Log in to the LiveVox portal.
- Navigate to Configure > Messaging and then click Contact Flow.
The Contact Flow window appears. - Click Add Contact Flow.
The Add New Contact Flow window appears.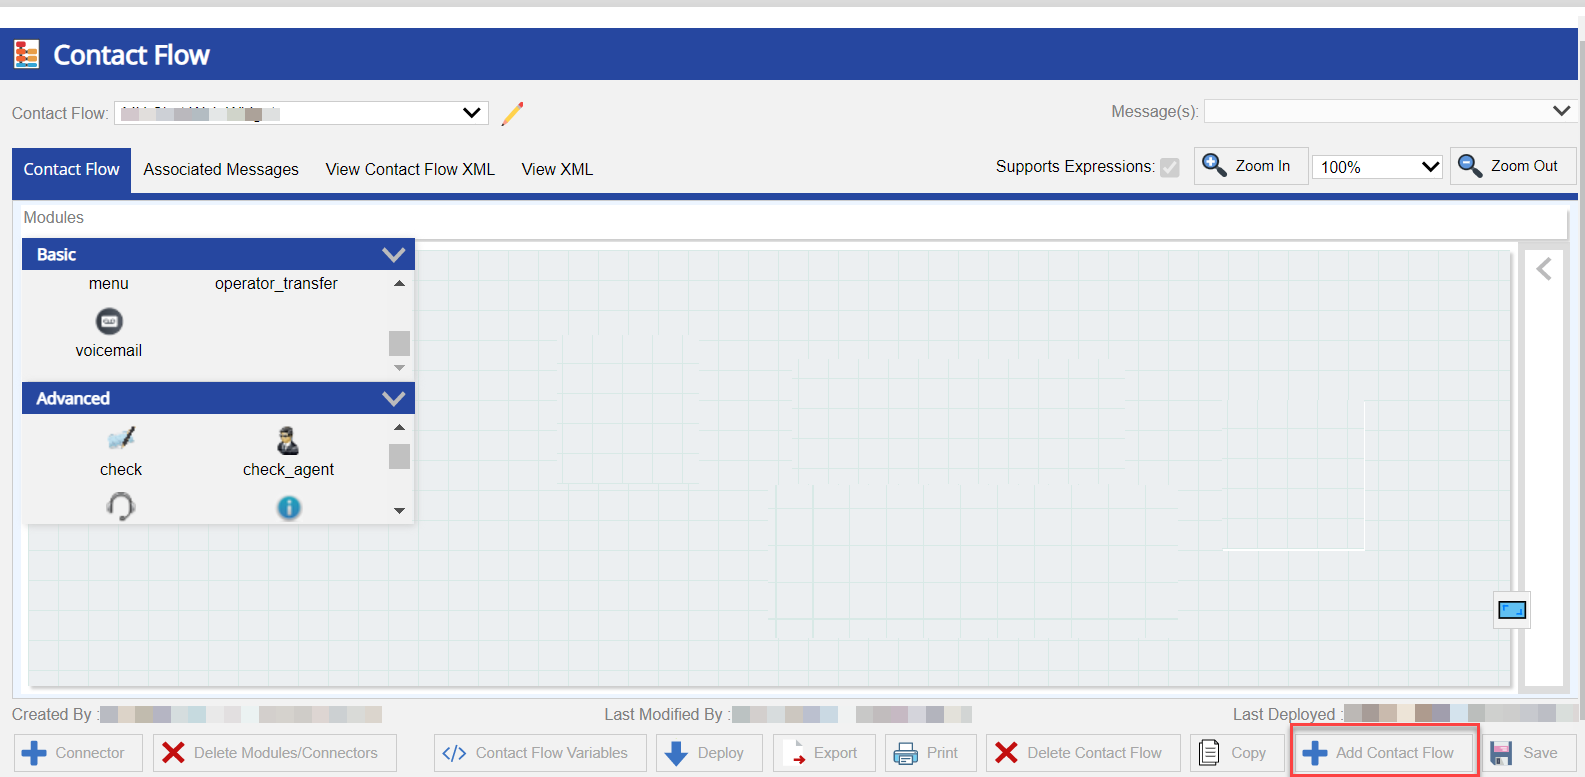
- Specify the Contact Flow Name and Description.
- Enable the Supports Expressions checkbox to use the condition and lookup modules in your contact flow.
- Click Ok.
- In the Contact Flow tab, select the Advanced section under Modules.
- Drag and drop the check_call_center as the first module in the contact flow. This module checks whether the call center is open or closed during an inbound call. The check_call_center – Property(s) window appears.
- Click OK.
- From the Basic section, select voicemail. Drag and drop the voicemail module to the contact flow. The voicemail - Property(s) window appears.
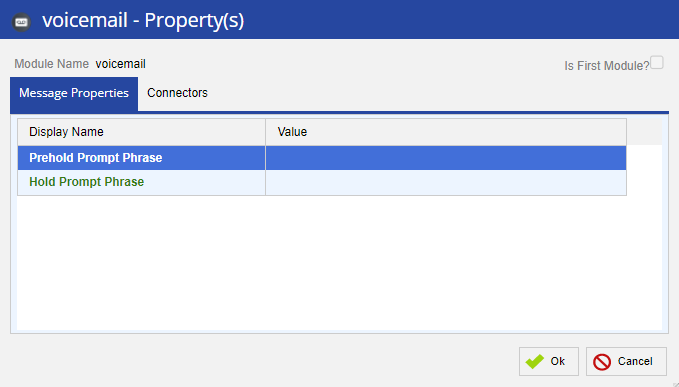
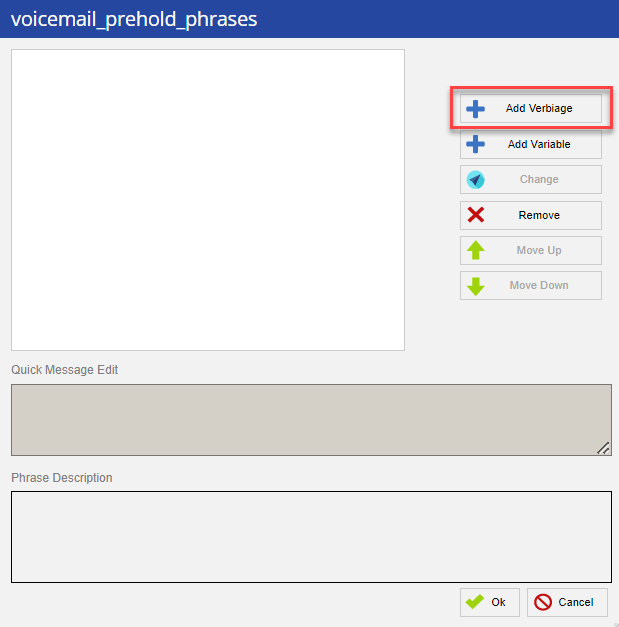
- Double-click the fields in the Message Properties tab to select or add the verbiage to be played when the inbound call reaches the voicemail. When you double-click the Prehold Prompt Phrase field, the voicemail_prehold_phrases window appears. When you double-click the Hold Prompt Phrase field, the voicemail_hold_phrases window appears.
- Click Add Verbiage.
- Search and select the appropriate verbiage, and then click Ok.
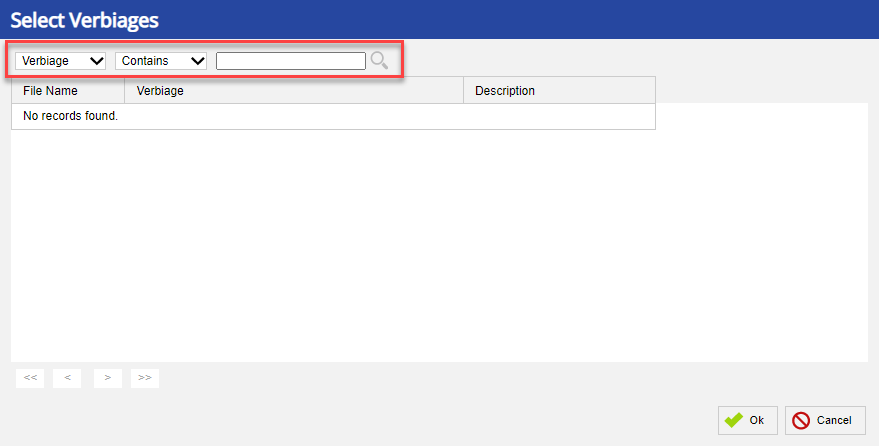
- Click Add Verbiage.
- After adding the modules, select connectors to logically connect the modules along with the Event and Result values specific to the modules.
To create connectors:- In the Contact Flow window, Click Connector. Alternatively, hover over a source module until an arrow icon appears, then click and drag the dotted line to the target module.
The Connector Setup window appears.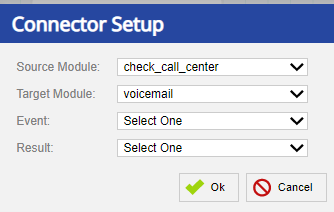
- Add the following details:
- Source Module: The starting point of the connector
- Target Module: The ending point for the connector.
- Event: The type of connector.
- Result: The outcome that is used in reporting should be the last module for which the transaction was connected.
- In the Contact Flow window, Click Connector. Alternatively, hover over a source module until an arrow icon appears, then click and drag the dotted line to the target module.
- Click Ok.
- After all modules and connectors are set for the contact flow, click Save.
The following video helps you to understand how to create a new contact flow and how to add the check call center and voicemail modules to the contact flow.
When the call center is closed, the inbound call goes to voicemail. To direct the inbound call when the call center is open, you must add the lookup, menu, and operator transfer modules.
To add these modules, watch the following video and follow the sections below:
Adding the Lookup Module
If the call center is open, the lookup module can match an incoming phone number to an account record using a service or contact group. For more information on how to configure the lookup module, see Lookup module.
To the newly created contact flow, add the lookup module:
- In the Contact Flow tab, from the Advanced section, select lookup.
- Drag and drop the lookup module to the contact flow.
The lookup - Property(s) window appears. - In the Message Properties tab, double-click on each field to specify the value for the required fields.
You can set the value for the following fields in the Message Properties tab:- Lookup Phrase: The lookup_phrases dialog box appears.
- Click Add Verbiage to select the appropriate verbiage.
- Click Ok.
- Variable used for Lookup: The lookup_input_variable dialog box appears.
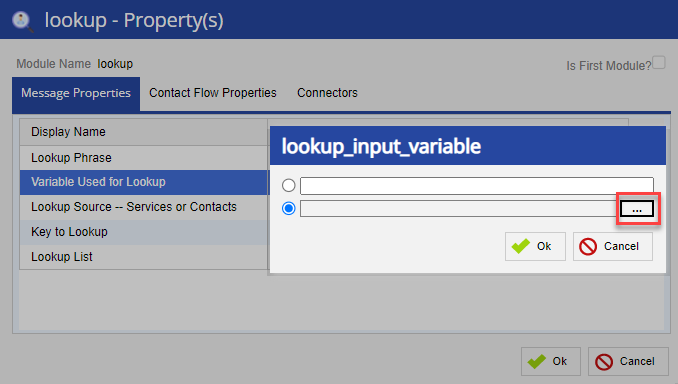
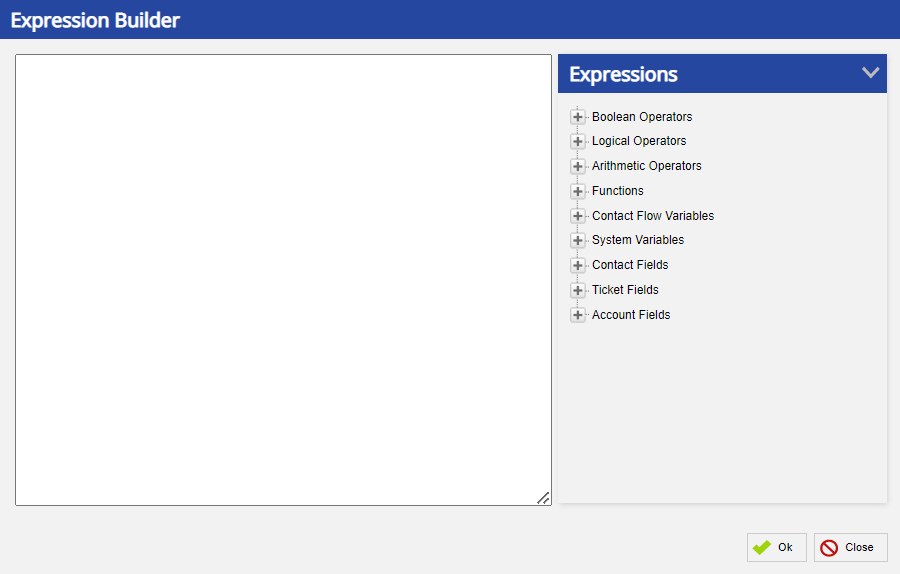
- Enter or search and select expressions from the Expression Builder window.
- Click Ok.
- Lookup Source -- Services or Contact: You can choose the value as SERVICES or CONTACTS.
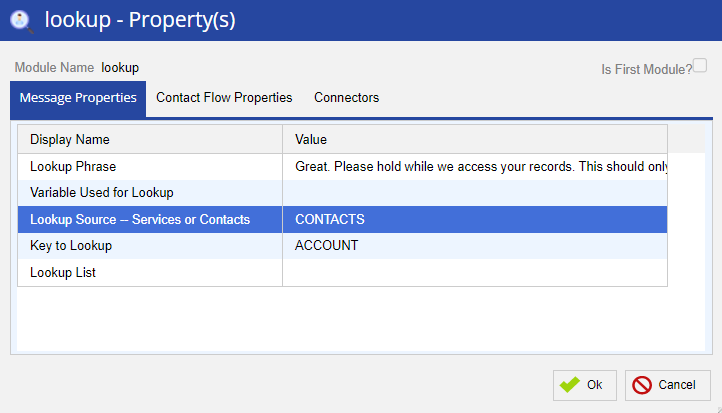
- Choose the Source value as Services or Contact Groups.
-
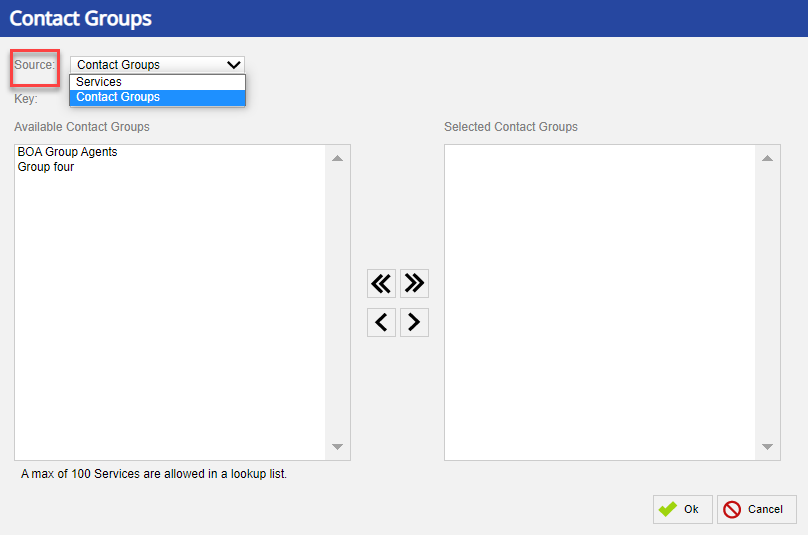 Click Ok.
- Key to Lookup: Depending on the source you have chosen, the Contact Groups or the Services window appears.
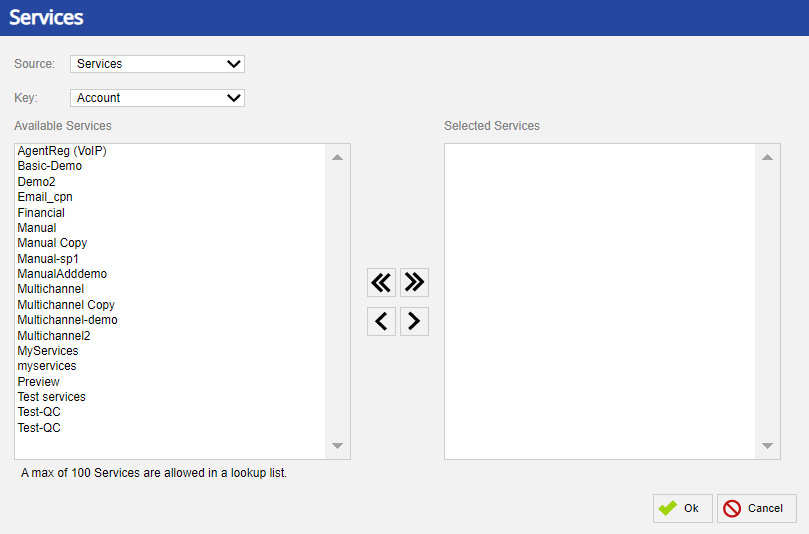
- Choose the Key from the dropdown.
- Click Ok.
- Lookup List: Depending on the source you have chosen, the Contact Groups or the Services window appears.
- Choose the services or contact groups available.
- Click Ok.
- Lookup Phrase: The lookup_phrases dialog box appears.
- Click Ok in the lookup - Property(s) window.
- Connect the lookup module to the new contact flow.
When a customer calls and the call center is open, the Lookup module identifies the customer and routes the call to the assigned service or contact.
Adding the Menu Module
The menu module allows you to add basic menu options. For example, you can add options, such as press 1 for account information or press 2 to make an appointment. For more information on how to configure the Menu module, see Understanding the Menu module.
To the contact flow, add the Menu module:
- In the Contact Flow tab, from the Basic section select menu.
- Drag and drop the menu module to the contact flow.
The menu - Property(s) window appears.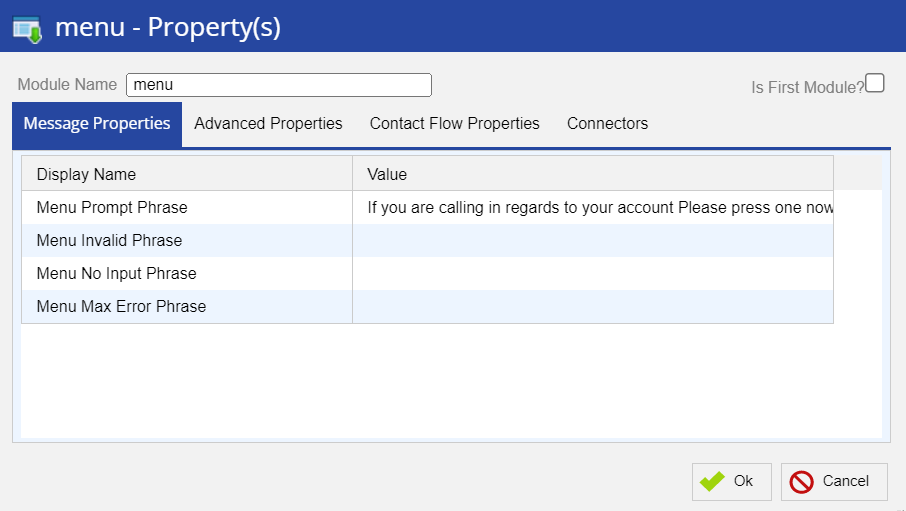
- In the Message Properties tab, double-click on each field to select or add verbiage to define different menu options.
You can set the verbiage for the following fields using the Message Properties tab:- Menu Prompt Phrase: The menu_phrases dialog box appears.
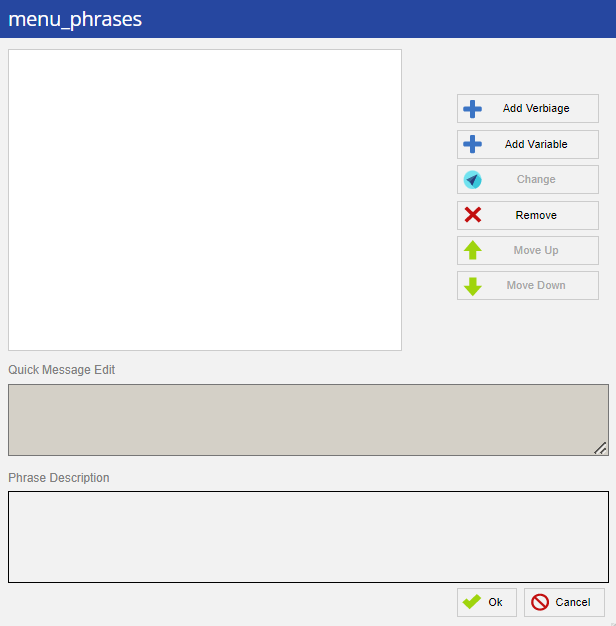
- Click Add Verbiage to select the appropriate verbiage.
- Click Ok.
- Click Add Verbiage to select the appropriate verbiage.
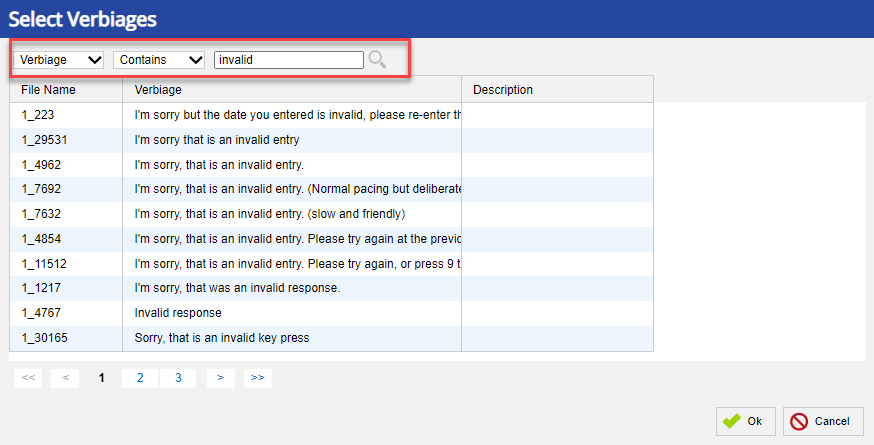
- Menu Invalid Phrase: The menu_invalid_phrases dialog box appears.
- Click Add Verbiage to select the appropriate verbiage.
- Click Ok.
- Menu No Input Phrase: The menu_noinput_phrases dialog box appears.
- Click Add Verbiage to select the appropriate verbiage.
- Click Ok.
- Menu Max Error Phrase: The menu_maxerror_phrases dialog box appears.
- Click Add Verbiage to select the appropriate verbiage.
- Click Ok.
- Menu Prompt Phrase: The menu_phrases dialog box appears.
- In the Advanced tab, double-click on each field to set the value.
You can set the value for the following fields using the Advanced tab:- Menu Max Retries: The menu_maxretries dialog box appears.
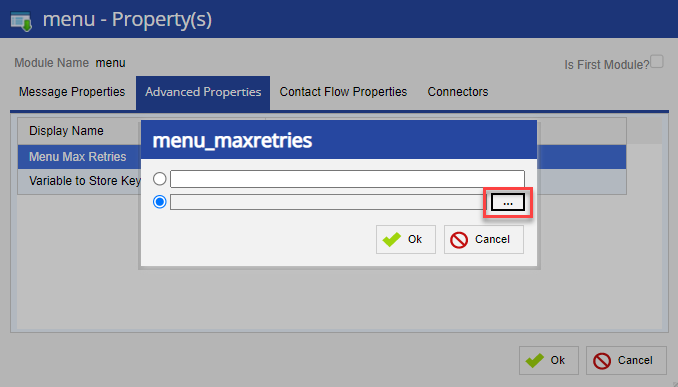
- Enter or search and select expressions from the Expression Builder window.
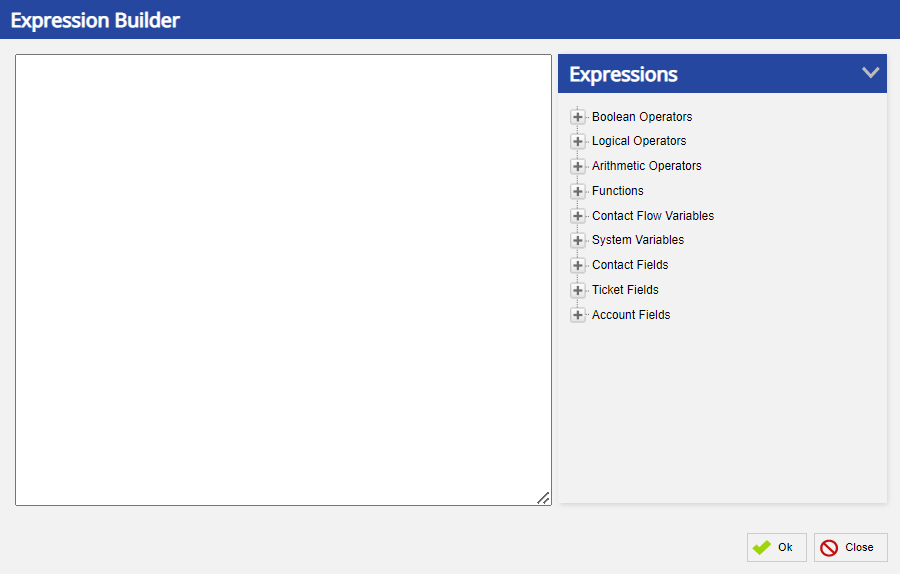
- Click Ok.
- Enter or search and select expressions from the Expression Builder window.
- Variable to store Key Press: The menu_key_press_variable dialog box appears.
- Enter or search and select expressions from the Expression Builder window.
- Click Ok.
- Menu Max Retries: The menu_maxretries dialog box appears.
- Click Ok in the menu - Property(s) window.
- Add the required connector options between the lookup module and the menu module.
Adding the Operator Transfer Module
The operator_transfer module connects the inbound call to an agent. For example, if a customer presses 1, the customer is transferred to an agent who can answer a question about the customer's account information. For more information on how to configure an operator transfer, see Operator Transfer.
To the contact flow, add the operator transfer module:
- In the Contact Flow tab, from the Basic section select operator_transfer.
- Drag and drop the operator transfer module to the contact flow.
The operator_transfer - Property(s) window appears.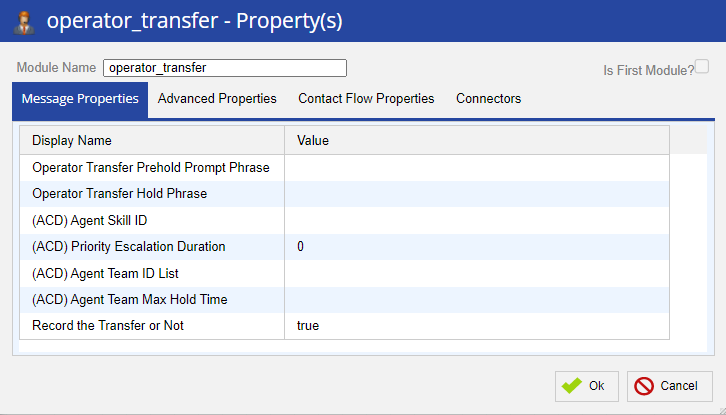
- Double-click on each field in the Message Properties tab and the Advanced Properties tab to set the values for the required fields.
- Click Ok.
- Connect the menu module to the operator_transfer module.
- Click Save to save the contact flow.
- To use this contact flow on a phone number, click Deploy.
To add the Operator Transfer module, watch the following demo:
Delete
After you create a contact flow, you must assign the new contact flow to an existing message or create a new message. (After you create a contact flow, you must create a new message to be associated with that new logic.) For more information on how to assign (associate) a contact flow to a message and how to assign a message to a service, see Creating a New Message and Assigning the Message to a Service.